Click to read Part 1 or Part 2 if you missed them.
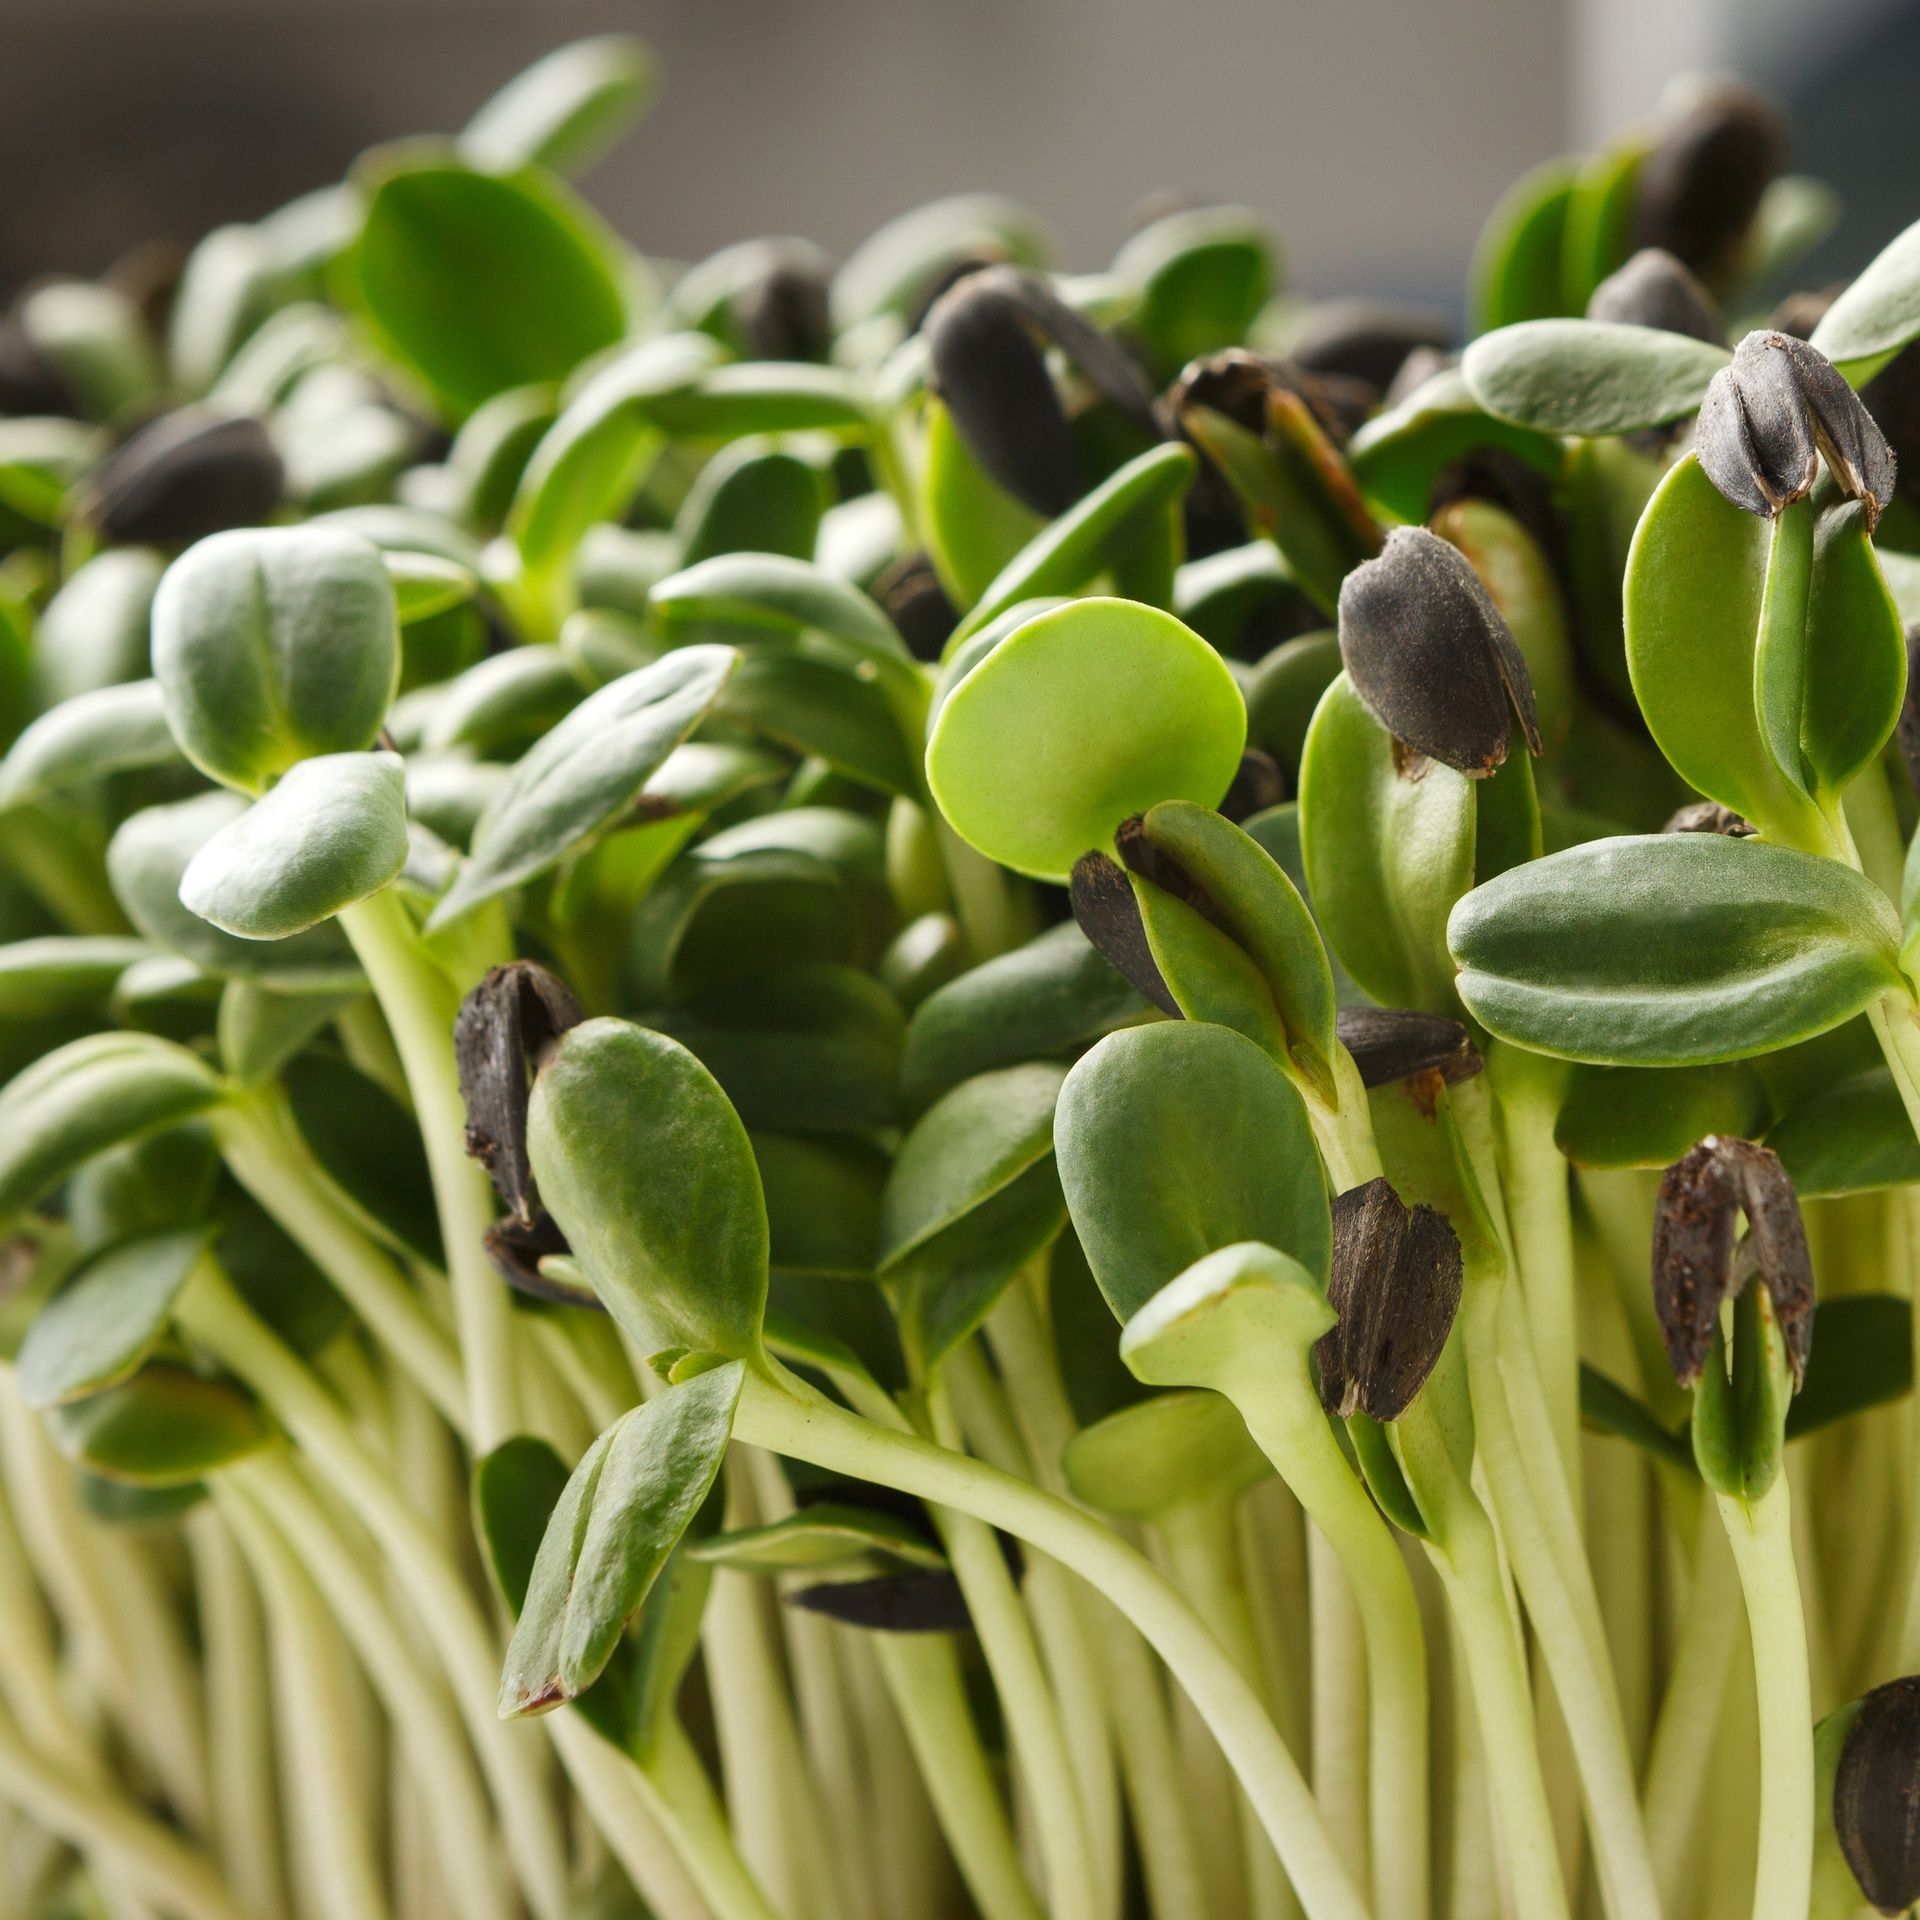
A tray of bright, fresh indoor greens look stunning on a kitchen counter top, is packed full of nutrition and is easy and fun to grow. Here is my quick guide to growing successful greens.
What do I need to grow indoor greens?
You can buy an automatic sprouter or a wheatgrass kit if you choose to, but you don’t need expensive equipment to grow your own greens. You can start with basic sprouting equipment (a container to sprout in and something to drain the water through), a seedling tray and some good quality soil or compost.
STEP 1) Soak your chosen seed/grain/pea (E.g. wheat grain, sunflower seed, buckwheat groat or snow pea – all unhulled) in a clean, oil-free jar. Use the best quality water you can (ideally not tap water) and cover the top with a mesh lid. Leave the jar overnight or for 4-8 hours during the day. Drain and rinse until the water runs completely clear. Drain again thoroughly. Continue doing this daily for 2-3 days until the sprouts begin to emerge and look healthy.
STEP 2) Fill your seedling tray with about 1-1½ inches of soil or compost and sprinkle on or mix in any soil food followed by the sprouts. Make sure the sprouts are spread evenly with room to breathe. They can touch each other but must not lie directly on top of each other, as they need to be able to put down roots easily.
STEP 3) Water the tray gently with a cup or two of water, making sure you sprinkle evenly and don’t drown your seeds. If you do over-water in one area, don’t worry – these seeds are generally hardy and will make the best of it, so just make sure other areas are watered sufficiently. NB: Too little water will mean that your sprouts have to struggle to grow. Use your hand and eye to gauge at this vital stage that the soil is
moist but not saturated.
STEP 4) Cover the tray with a newspaper, a bin liner or anything to prevent too much light and air getting in. An even better option would be another tray without holes turned upside down and placedon top. This looks neater and enables you to stack trays on top of each other.
STEP 5) Store in a safe place for 3 days.
STEP 6) Take off the cover. Your sprouts should have taken root, started to grow upright, and in the case of wheatgrass, are a strange white-yellow colour. Water again, this time more liberally, and leave in the open air and sunlight so that they can begin to grow and develop their green colour (chlorophyll).
STEP 7) Continue to water either once or twice a day depending on humidity. After about a week they should have reached their peak and be ready for harvesting.
STEP 8) To harvest, cut them at their base, just above the soil, with a sharp knife or scissors. Eat or juice as soon as possible. If you don’t want them all at once, cut what you need and allow the rest to continue to grow. Depending on when you first harvested them, they should continue to grow well for around another 3-5 days. You will know they are past their prime when they begin to lean over and wilt – at which point they are still edible but not as good or as tasty – so try to catch them before they reach this stage. Once the ends have bent over and/or have gone brown, they won’t taste good and shouldn’t be eaten.
It really is that easy to have delicious additions to salads, wraps, juices and all manner of other raw dishes. Indoor greens really pack a punch in terms of taste and nutrition – and you will have the satisfaction of knowing that you grew them yourself.


